Making Collections in Galaxy
When doing Bioinformatics analyses, it’s a more common practice to process multiple samples at once. This often also requires the grouping of these samples.
-
For example, paired short reads, such as Illumina reads, are usually grouped. However, grouping may extend to any specific way in which one wishes to classify ones data.
-
Similarly, we may want to compare a set of drug resistant strains to drug sensitive strains. Similarly, we may want to compare a dataset containing samples from Namibia to those of Cape Verde, etc. We would call each of these grouping of samples, a dataset.
Galaxy allows us to do this in one step. That is, we can make sure a forward and reverse read belonging to the same sample is paired.
We can then group these paired reads into a dataset or collection of paired reads, so that we can run analyses on all of our samples at once, rather than doing them one by one.
![]() Let’s see this in action.
Let’s see this in action.
[!NOTE] The samples for this lesson can be found at Zenodo
You have two options.
- You may click on this url to download the zip file with all the files, and then upload the files to Galaxy from your local machine.
- Or you may paste the links below, which correspond to the individual samples, into Galaxy.
However, you will need to change the file names individually in Galaxy, if you use the second method.
https://zenodo.org/records/10760705/files/SRR24446250_1.fastq.gz?download=1
https://zenodo.org/records/10760705/files/SRR24446250_2.fastq.gz?download=1
https://zenodo.org/records/10760705/files/SRR24446252_1.fastq.gz?download=1
https://zenodo.org/records/10760705/files/SRR24446252_2.fastq.gz?download=1
https://zenodo.org/records/10760705/files/SRR24446254_1.fastq.gz?download=1
https://zenodo.org/records/10760705/files/SRR24446254_2.fastq.gz?download=1
https://zenodo.org/records/10760705/files/SRR24446261_1.fastq.gz?download=1
https://zenodo.org/records/10760705/files/SRR24446261_2.fastq.gz?download=1
https://zenodo.org/records/10760705/files/SRR24446273_1.fastq.gz?download=1
https://zenodo.org/records/10760705/files/SRR24446273_2.fastq.gz?download=1
https://zenodo.org/records/10760705/files/SRR24446275_1.fastq.gz?download=1
https://zenodo.org/records/10760705/files/SRR24446275_2.fastq.gz?download=1
https://zenodo.org/records/10760705/files/SRR24446288_1.fastq.gz?download=1
https://zenodo.org/records/10760705/files/SRR24446288_2.fastq.gz?download=1
https://zenodo.org/records/10760705/files/SRR24446302_1.fastq.gz?download=1
https://zenodo.org/records/10760705/files/SRR24446302_2.fastq.gz?download=1
1. Import the selection of cholera samples
2. Rename your History to Cholera paired collection
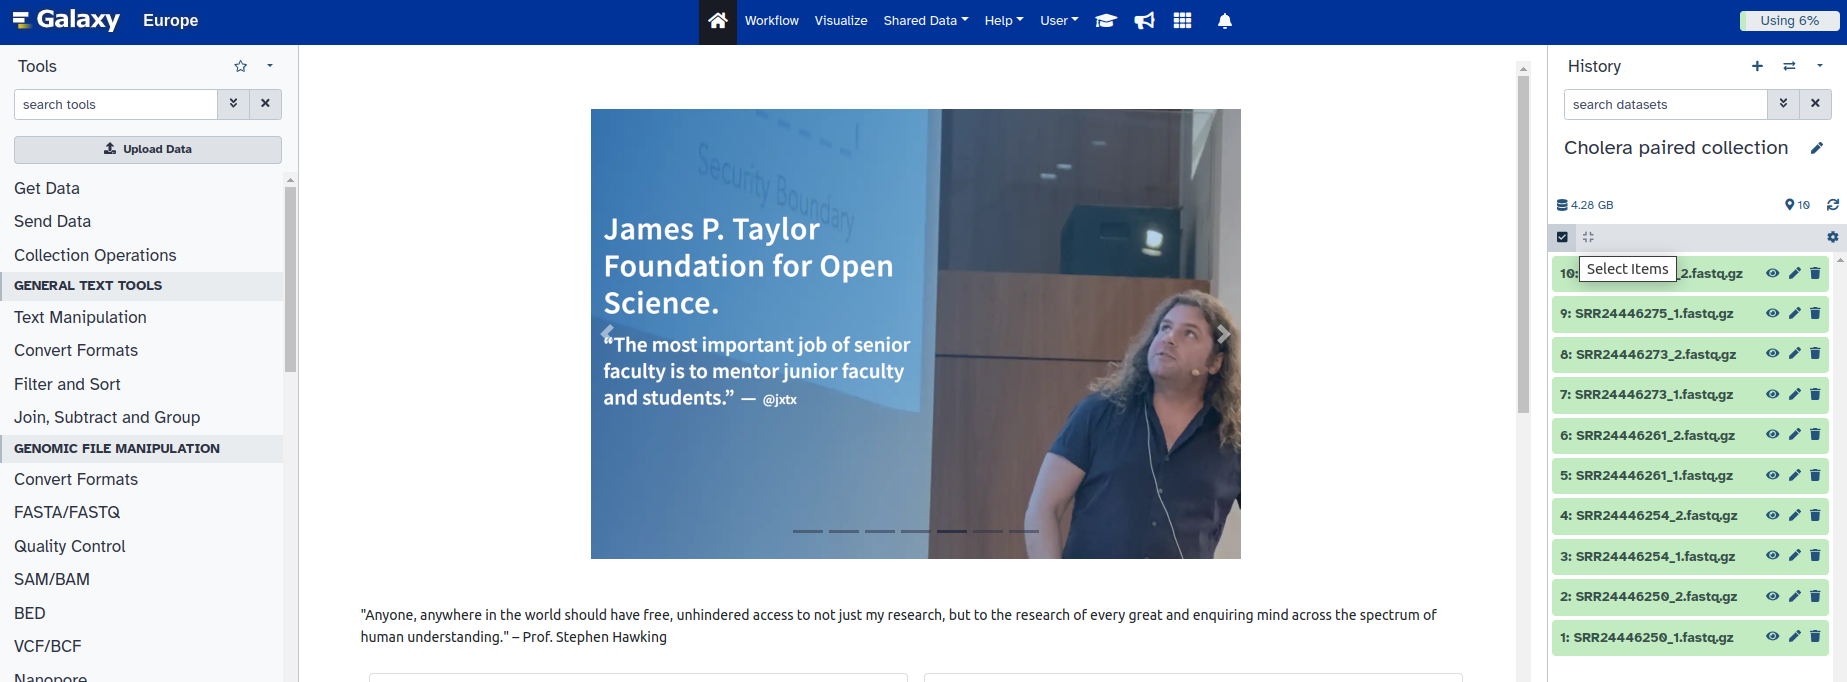
3. Just above your imported samples, you will see a small blue box with a checked sign ![]() .
.
Uncheck that box. This will allow you to individually select each sample.
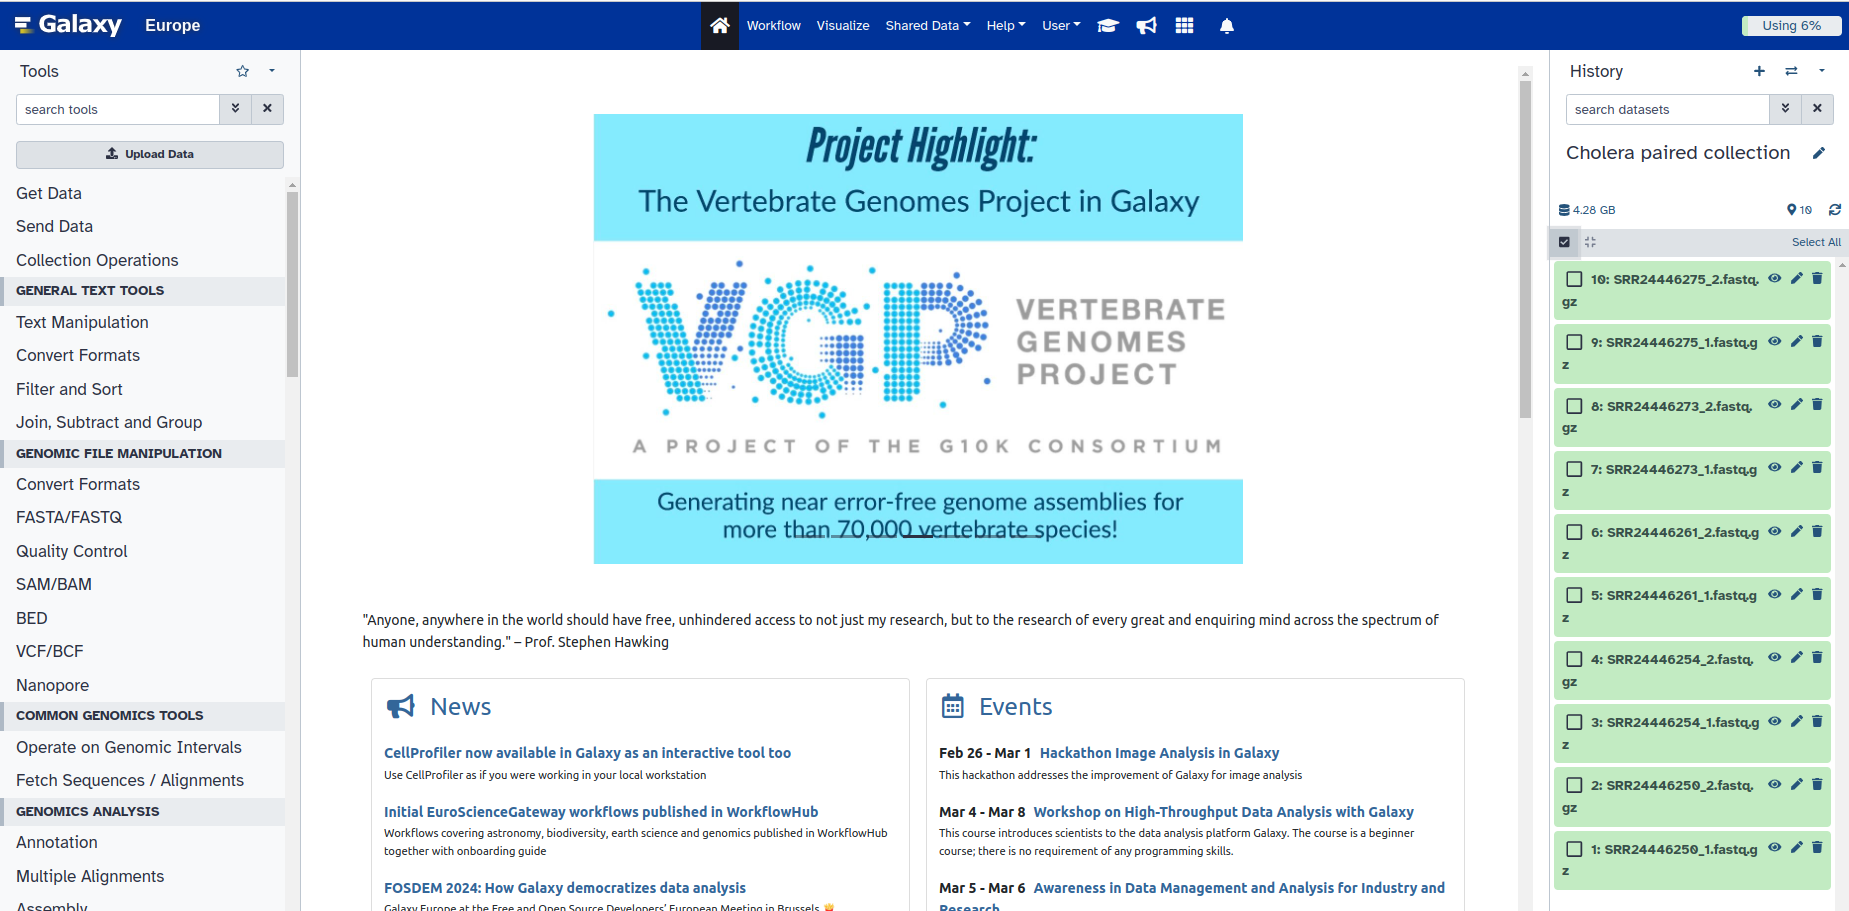
4. Click on the Select All button on the right.
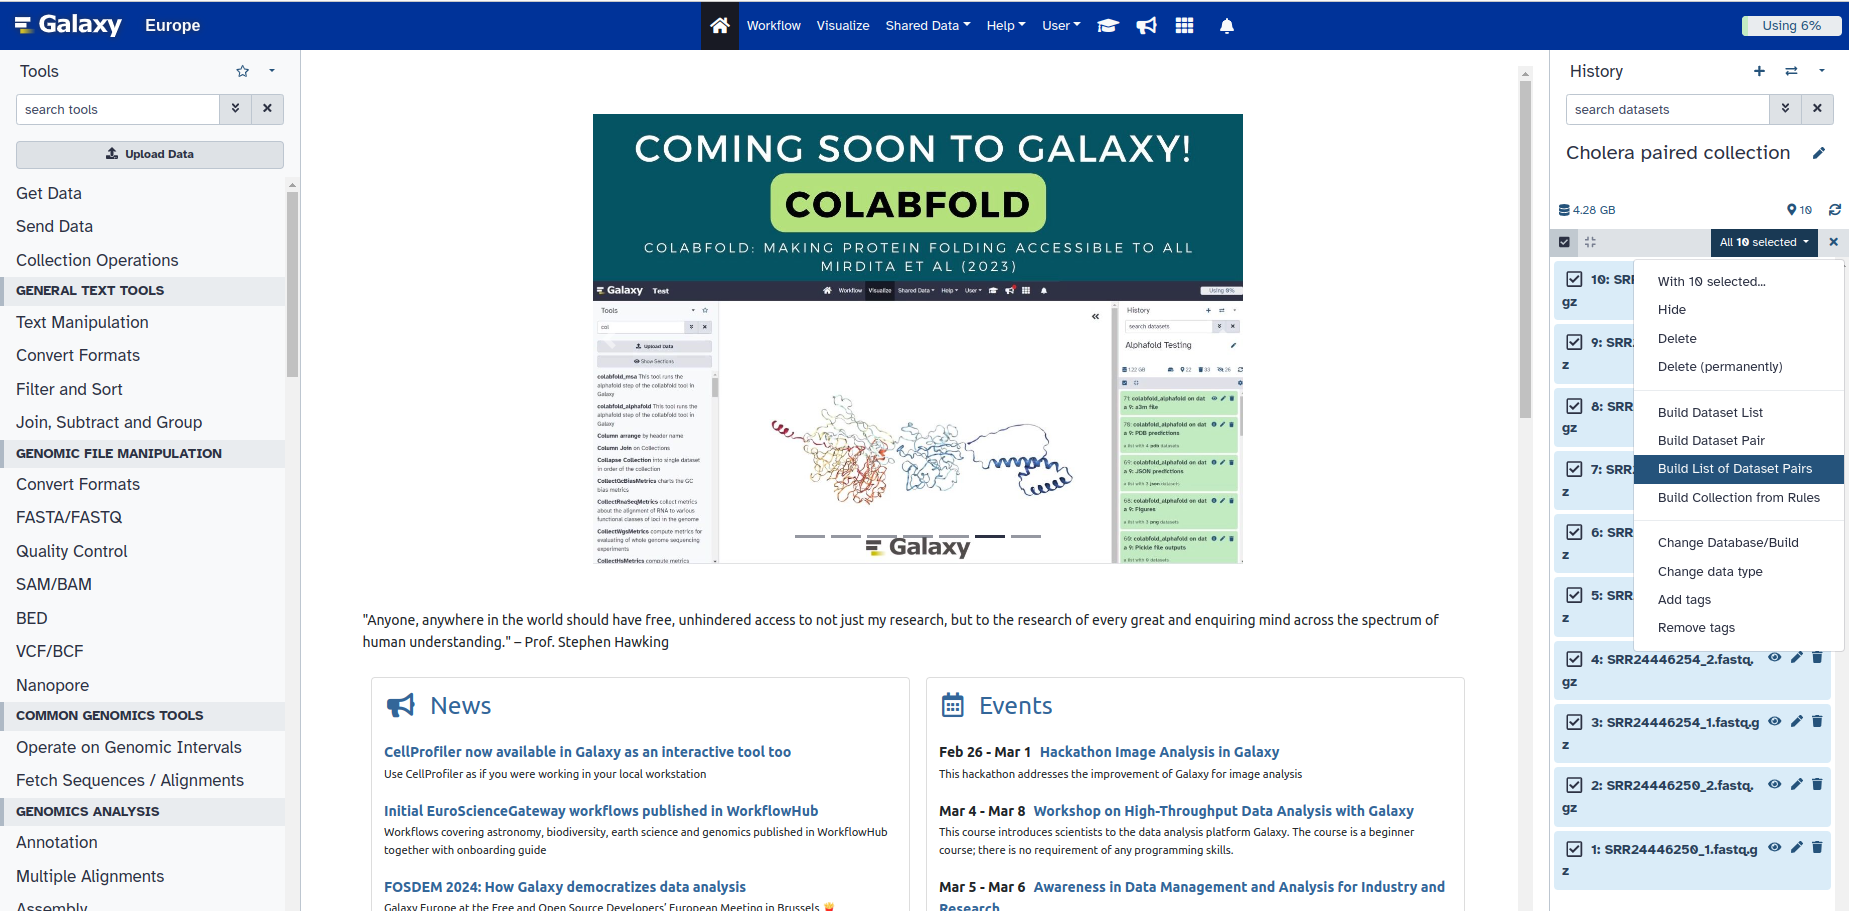
5. Click the drop-down arrow in the box that says All 10 selected
6. Choose the option that says Build List of Dataset Pairs
This new box gives you the ability to pair your samples, by looking for any common pattern in one group, that distinguished them from another group. For example, what pattern do you see in the file name of the forward reads, that is not in the reverse reads.
In our case, the algorithm predicted that the forward reads will all have a 1** in their name and the _reverse reads all have an **_2. So, it already paired our forward and reverse reads for us based on this pattern.
But we can look at the view we would get if the samples were named differently, and the algorithm may not have gotten it right. For example, forward and reverse reads are sometimes labelled with R1 and R2 to distinguish read pairs.
7. So let’s click on Unpair all, which is just above the green coloured samples
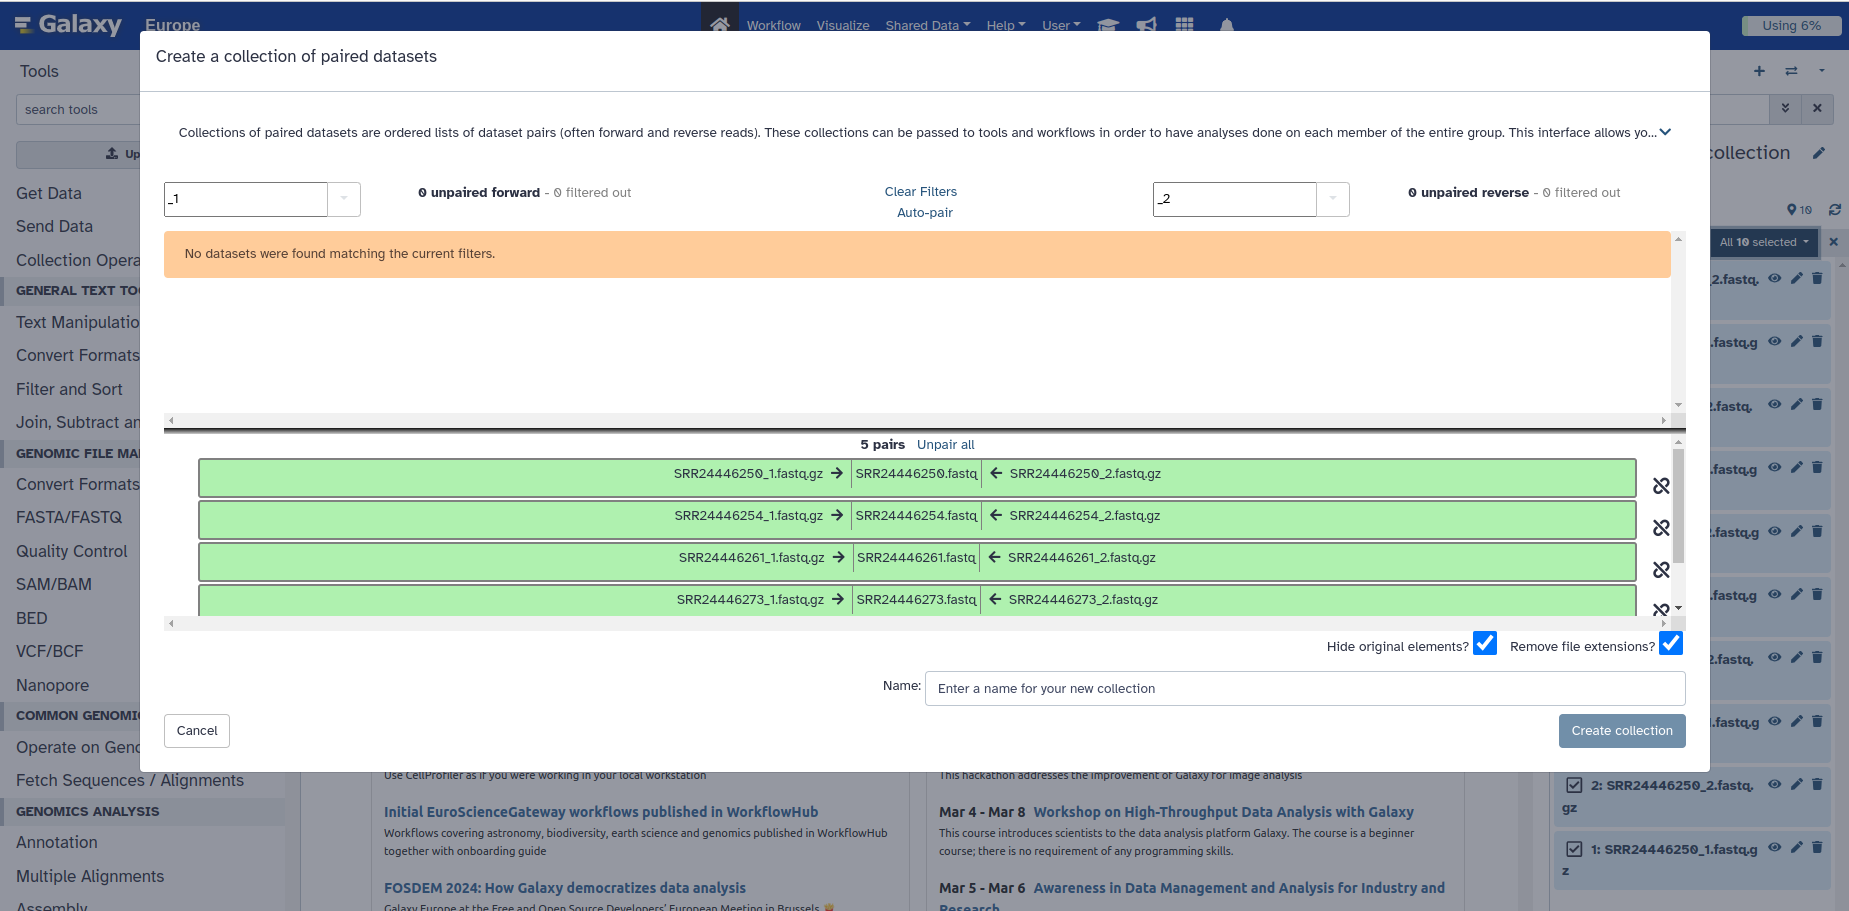
Your box should now look like this (BELOW).
- Thus, if your samples were named differently, and Galaxy couldn’t successfully pair it, the samples will all appear on top (in the white space above) and you would have to figure out a pattern in your sample names to allow the correct classification. E.g. R1 in the box on the top left and R2 in the box on the top right. In the worse case scenario, you may need to rename all of your samples to enforce a common pattern.
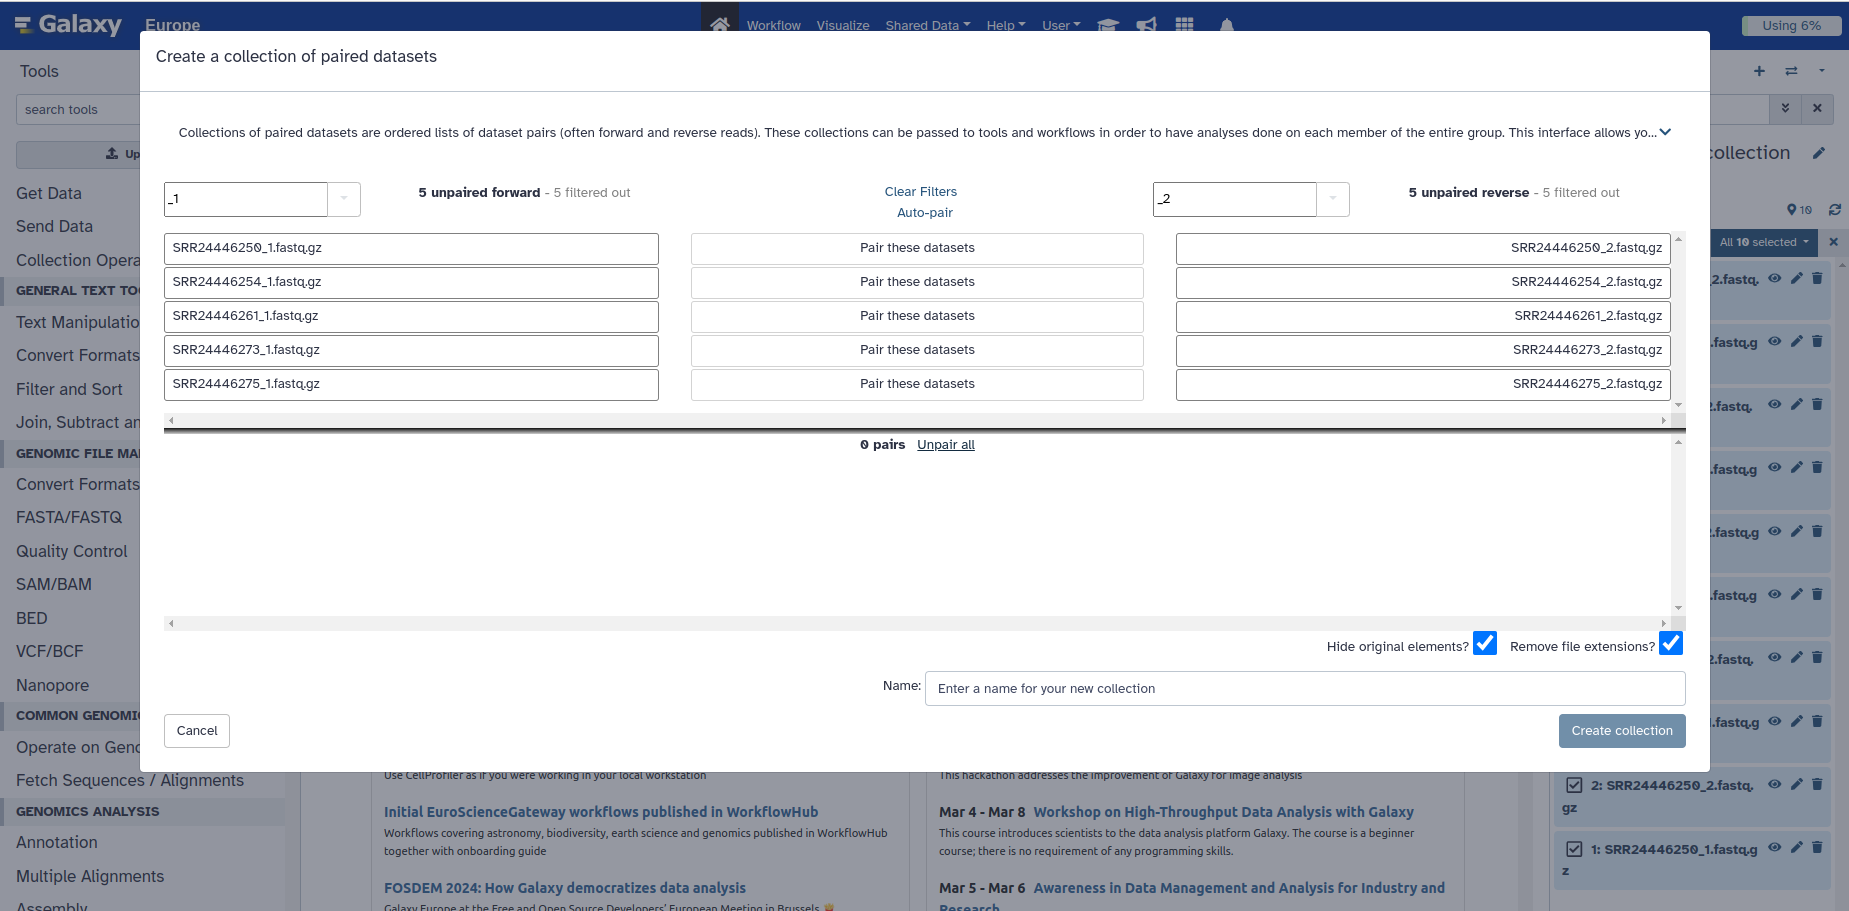
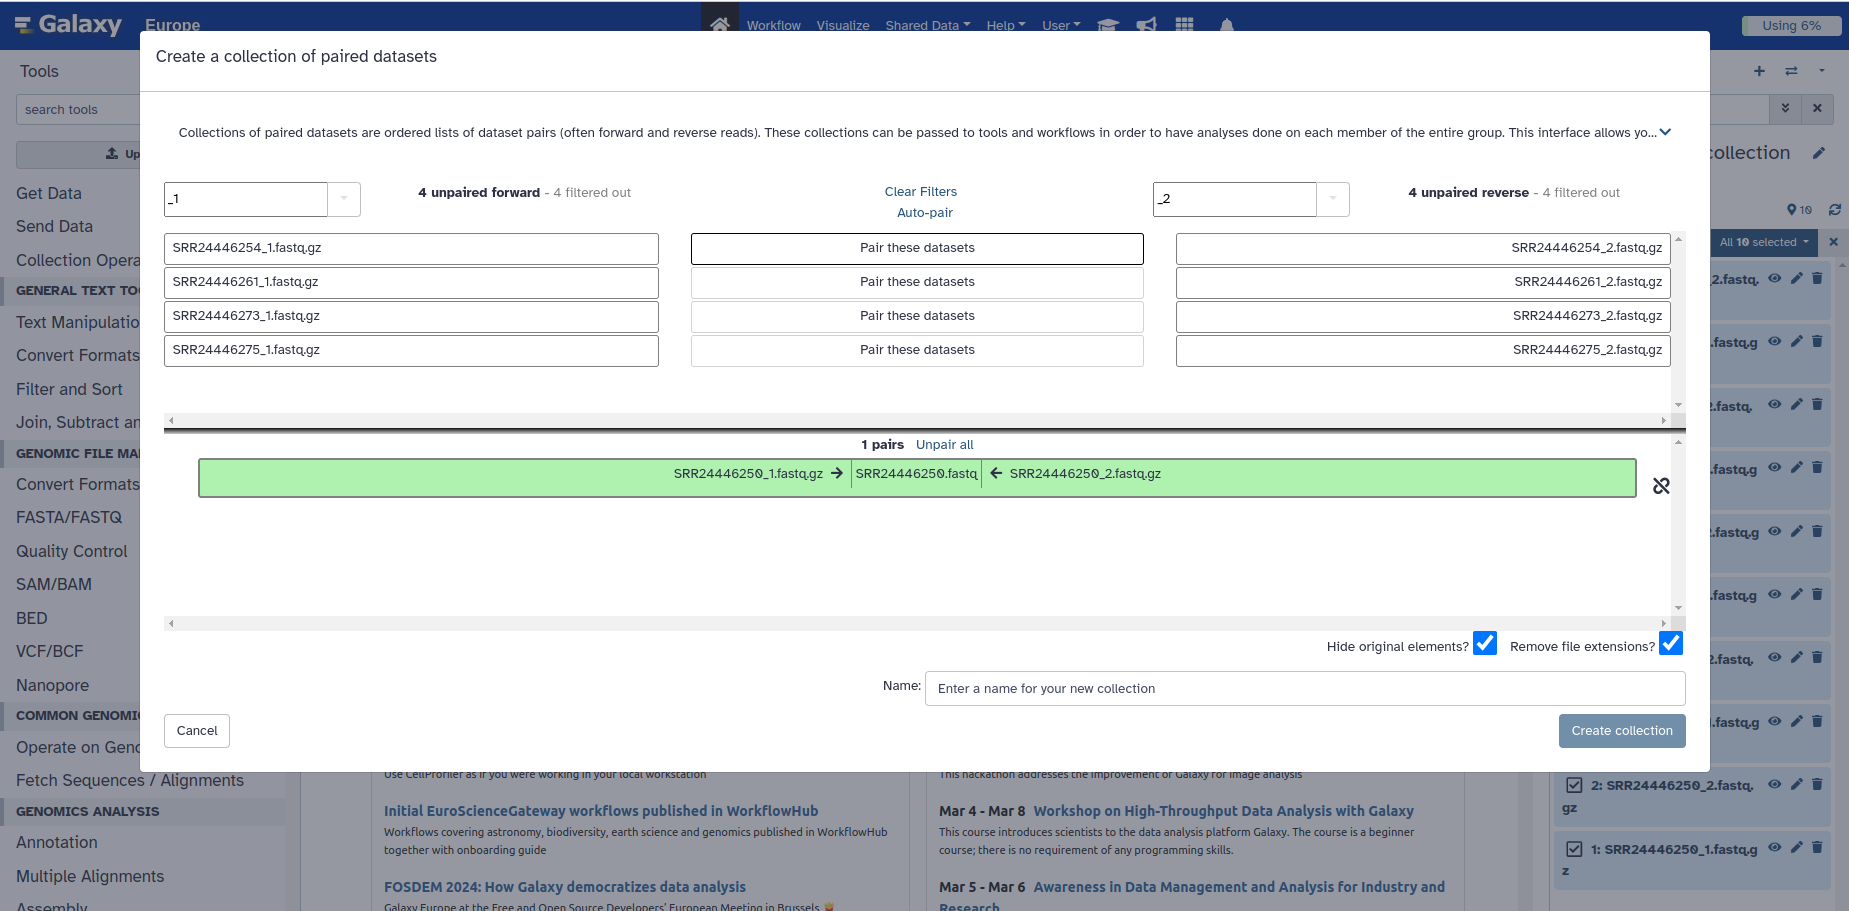
8. You can manually pair the set of reads by clicking the white button in the middle that says Pair these datasets, and it will move them all to the bottom as they were before.
9. BEFORE clicking on Create Collection at the bottom, give your dataset a name. For example “Cholera paired reads”, and click on “Create Collection”
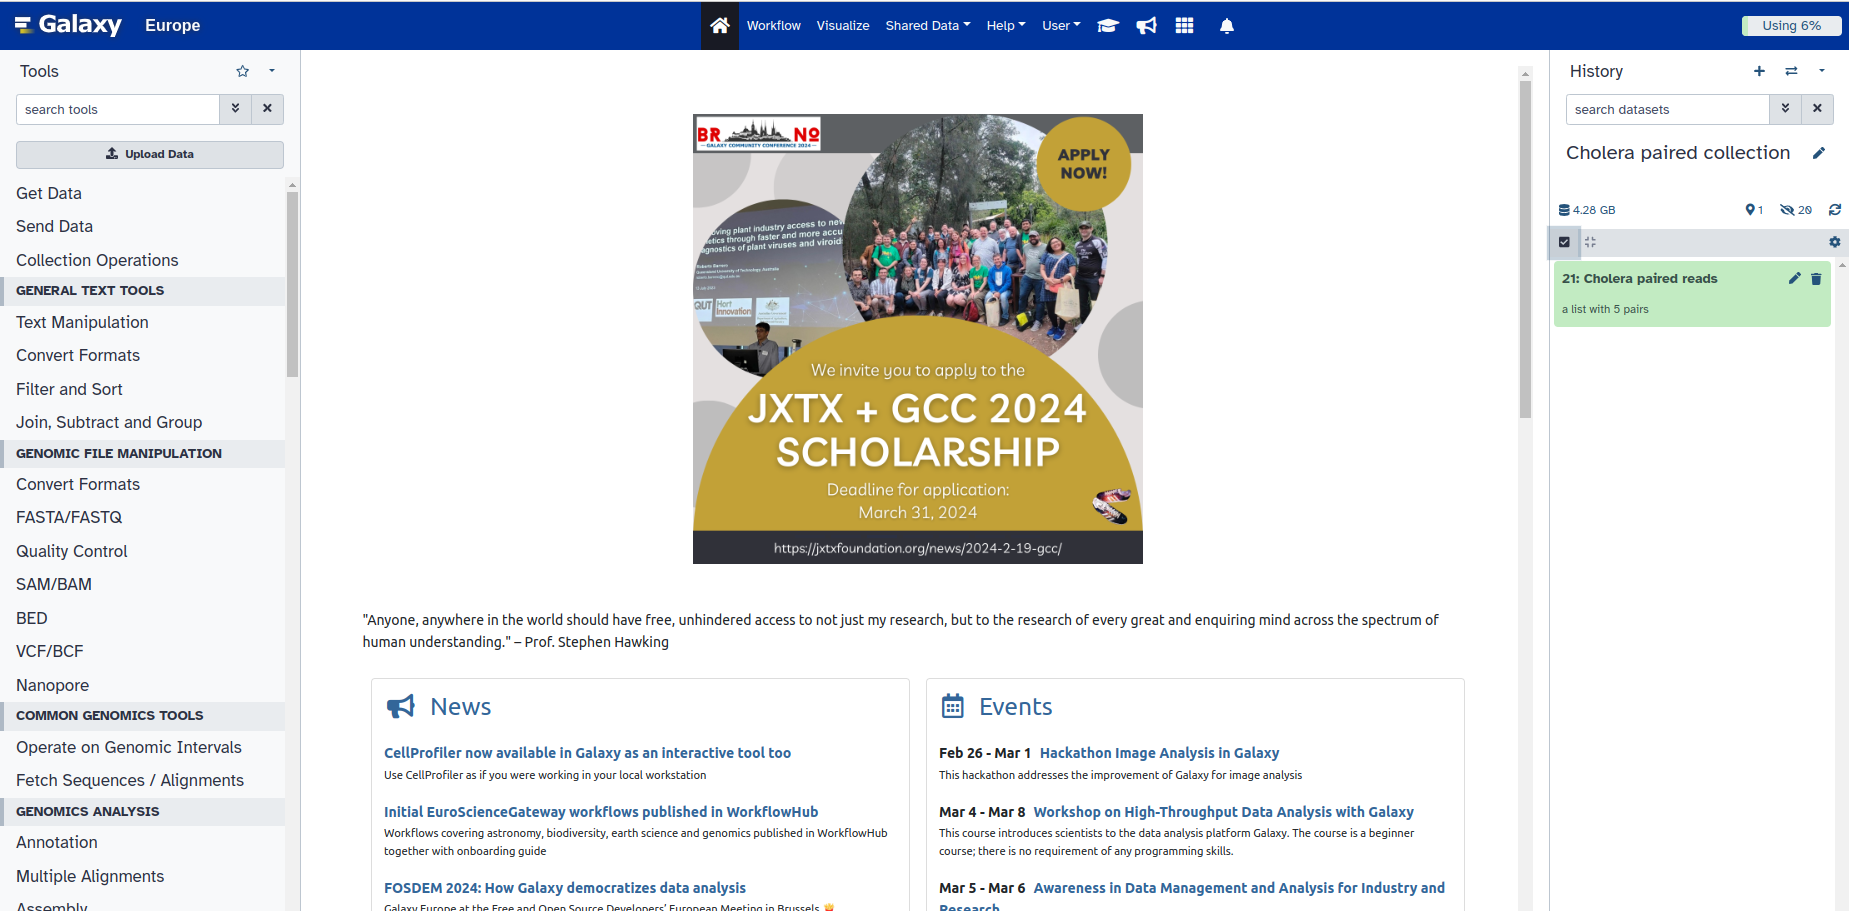
10. You now have all your samples grouped. You can deselect the collection by unchecking the box, you originally selected at number 3.
Below is a tutorial called Using dataset collections that you can follow if you ever need to revisit this topic